Kedarkantha Trek Difficulty: Easy or Tough for Beginners?
- Date : 2025-07-23
- Author : Deepak pandey
If you are planning a winter adventure in the Himalayas, one of the first questions that comes to mind is: What is the Kedarkantha trek difficulty? Located in Uttarakhands Govind Wildlife Sanctuary, the Kedarkantha trek is often labeled as one of the best beginner-friendly treks in India. But does that mean its easy for everyone? Not exactly. The Kedarkantha trek difficulty level is considered moderate, suitable for first-time trekkers with basic fitness, yet still offering challenges like steep climbs, snow-covered trails, and sub-zero temperatures in winter. The ascent to the summit at 12,500 feet demands stamina, mental preparation, and layering up for altitude. However, with proper planning and acclimatization, even novice trekkers can complete it successfully. In this guide, we will break down every aspect of the treks difficulty — from altitude and terrain to weather and required fitness level — so you can prepare confidently and safely for this unforgettable Himalayan journey.
Why Understanding Kedarkantha Trek Difficulty Matters
Knowing the difficulty of the Kedarkantha trek in advance helps set realistic expectations and prevents last-minute surprises on the trail. Many trekkers underestimate the conditions and overestimate their fitness, which can turn an enjoyable trek into a stressful experience. This trek involves climbing steep, snow-covered terrain, enduring freezing temperatures, and sometimes walking for 5–6 hours a day. Understanding what lies ahead allows you to mentally and physically prepare, arrange the right gear, and train appropriately. This awareness also helps prevent altitude sickness and fatigue by encouraging proper rest and acclimatization.
Key Considerations:
- Fitness level and prior trekking experience
- Terrain type and snow level
- Weather conditions, especially in winter
- Gear and clothing
- Acclimatization strategy
Physical Fitness Level Required
Although considered a moderate-level trek, the Kedarkantha trek Uttarakhand still requires a good amount of stamina, endurance, and leg strength. Trekkers should be physically prepared to walk for long hours, covering steep ascents and descents on snowy and uneven terrain. On average, each day involves trekking for 4 to 6 hours, sometimes through dense forests and high-altitude trails. However, with consistent preparation, this challenge becomes manageable. A dedicated fitness routine for at least 3 to 4 weeks before attempting the Kedarkantha trek, focused on cardio, leg strengthening, and regular walking, can significantly improve your trekking experience.
Suggested Fitness Routine:
- Cardio: Brisk walking, jogging, or cycling (5 km/day)
- Strength: Squats, lunges, planks, push-ups
- Flexibility: Stretching, yoga, or pilates
- Stair Training: With a backpack, mimicking trekking conditions
Proper fitness is key to enjoying the trek and reaching the summit with minimal discomfort.
Day-Wise Breakdown of Kedarkantha Trek Difficulty
To better understand the challenges of the Kedarkantha Trek, heres a detailed day-wise difficulty analysis. This breakdown will help trekkers prepare mentally and physically for each days terrain, weather, and altitude changes, ensuring a safer and more enjoyable journey through the scenic Himalayan trails.
| Day | Route | Distance | Difficulty | Altitude Change | Weather Conditions |
|---|---|---|---|---|---|
| Day 1 | Dehradun to Sankri | 200 Km | Easy (travel day) | 6,398 Ft. | Cold evenings, mild during the day |
| Day 2 | Sankri to Juda-ka-Talab | 4 km | Easy to Moderate (Trek day) | 6,398 Ft.— 8,858 Ft. | Cold with possible snowfall |
| Day 3 | Juda-ka-Talab to Kedarkantha Base | 3.5 km | Moderate (Trek day) | 8,858 Ft. — 11,253 Ft. | Freezing temperatures, snow likely |
| Day 4 | Base to Summit & back to Base Camp | 6 km | Moderate to Hard (Trek day) | 11,253 Ft.— 12,467 Ft.— 11,253 Ft. | Very cold, windy, sub-zero temperatures |
| Day 5 | Base Camp to Sankri | 6.5 km | Easy (Trek day) | 11,253 Ft.— 6,398 Ft. | Cold morning, milder as you descend |
| Day 6 | Sankri to Dehradun | 200 Km | Easy (travel day) | 2,200 Ft. | Pleasant, depending on season |
Altitude Gain and Acclimatization
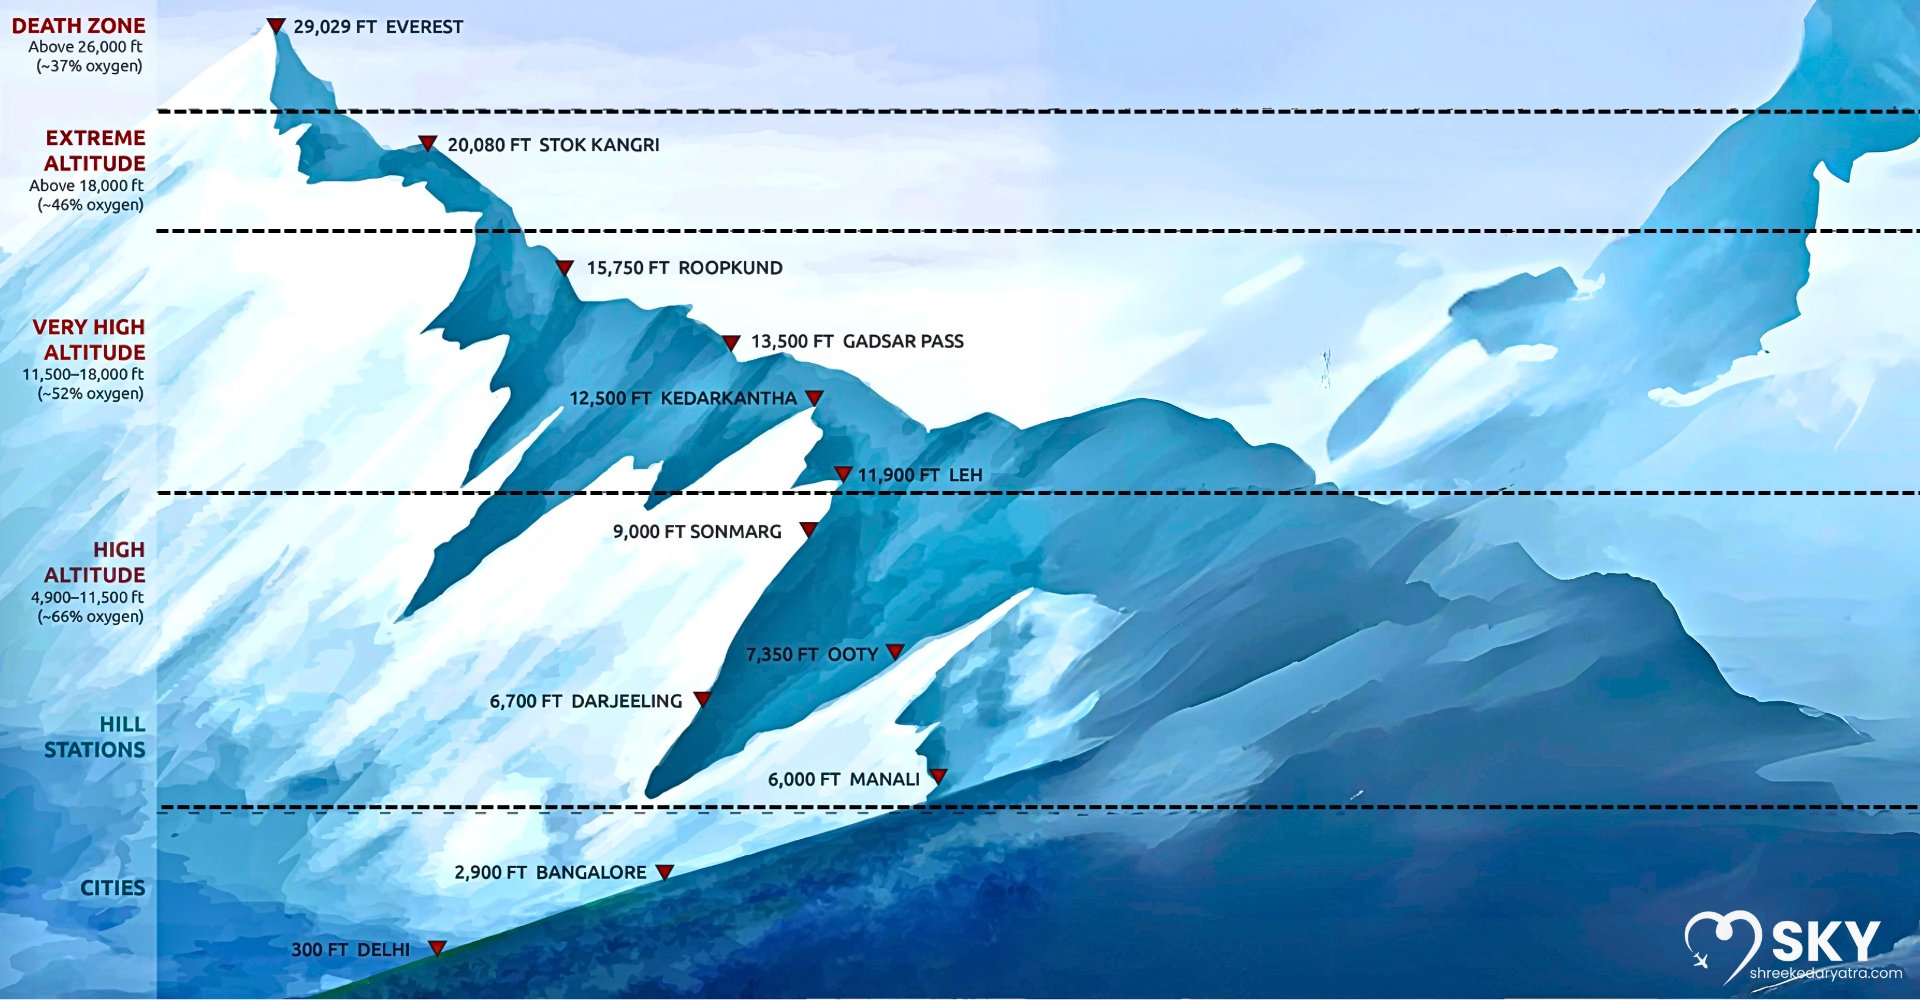
Altitude is a key factor that increases the difficulty level of Himalayan treks, especially on shorter routes like the Kedarkantha trek. This trek takes you up to a height of 12,500 feet in just a few days, making the altitude gain quite rapid. Such a quick ascent can lead to AMS (Acute Mountain Sickness) if you do not allow your body enough time to adjust. Unlike longer treks where the body naturally acclimatizes over time, the Kedarkantha trek demands conscious efforts to adapt. Its essential to pace yourself, take regular breaks, stay well-hydrated, and listen to your body throughout the journey.
Tips to Acclimatize:
- Ascend slowly, avoid rushing
- Stay hydrated (4–5 liters/day)
- Avoid alcohol or smoking
- Eat light and nutritious meals
The Winter trek in Uttarakhand offers enough rest stops and is planned to help you adjust to altitude gradually, provided you follow the itinerary properly.
Weather Challenges on the Trek
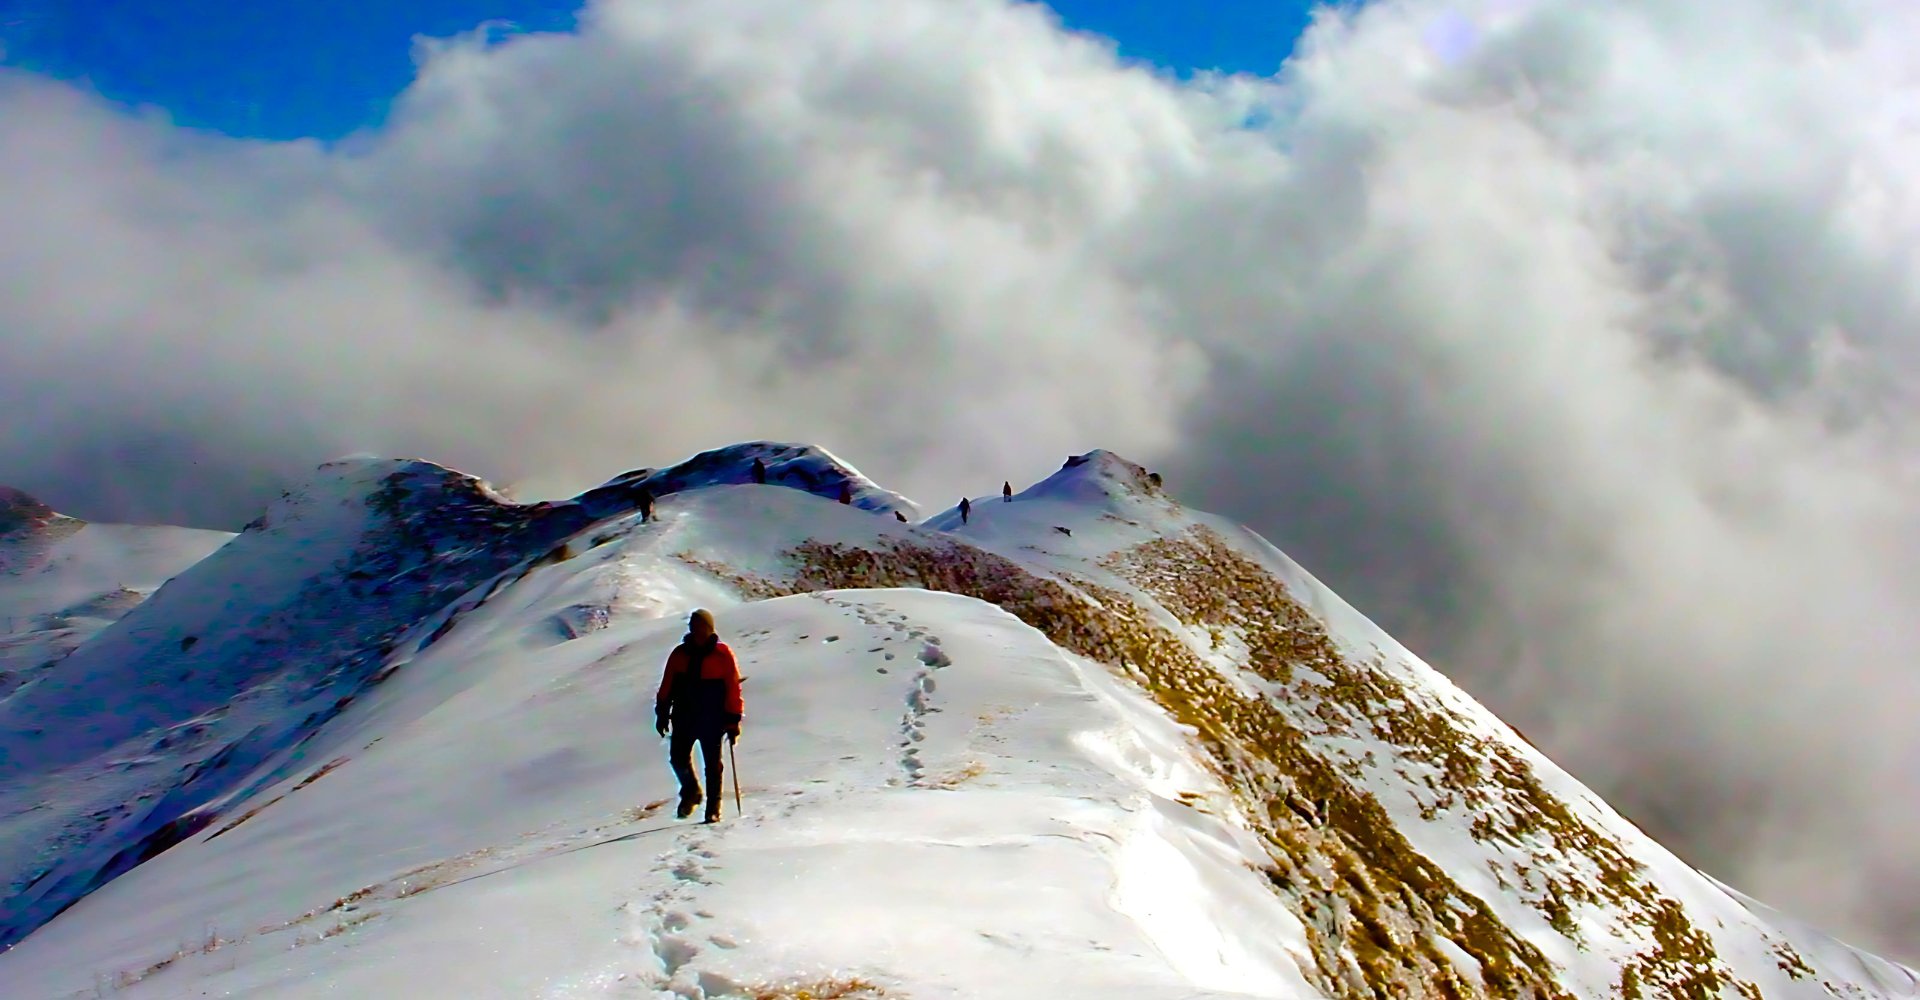
One of the most demanding aspects of the Kedarkantha Trek is its highly unpredictable weather, especially during the peak winter months of December and January. Temperatures can plunge as low as -10°C at night, and the biting cold is often accompanied by sharp winds, heavy snowfall, and dense fog. These conditions make it essential for trekkers to be well-layered, insulated, and properly equipped with winter trekking gear. Although the trail remains open during the winter season, sudden snowstorms and whiteouts can significantly slow down the journey or even bring it to a temporary halt, testing your endurance and planning.
Common Weather Issues:
- Extreme cold
- Slippery snow-covered paths
- Whiteout conditions
- Difficulty breathing due to a cold and altitude
Still, this trek is one of the Best Himalayan treks to experience snow and scenic beauty safely with a guide.
Best Time to Do the Kedarkantha Trek for an Easy Experience
Although winter is the most popular time for the Kedarkantha Trek due to its snow-covered beauty, other seasons offer unique experiences too. Spring, from March to April, brings blooming rhododendrons and clearer skies, while the post-monsoon season, from September to November, offers vibrant landscapes and stable weather. These periods also have more manageable trail conditions compared to the harsh winter. For those who want to experience snow but avoid the extreme cold, early December or late March are ideal windows. Choosing the right season ensures a safer and more enjoyable trekking experience, tailored to your comfort level and adventure goals.
| Season | Trail Highlights | Pros | Cons | Ideal For |
|---|---|---|---|---|
| December – January | Heavy snow, fully winter landscape | Best snow views, magical winter vibes, less crowded mid-week | Extreme cold (-5°C to -15°C), snow-packed and slippery trails | Hardcore snow lovers, photographers |
| February – Mid-March | Gradual snow melt begins | Snowy charm continues, fewer trekkers, clearer skies | Trails may be icy or slushy in patches | Adventurers avoiding holiday rush |
| Late March – April | Snow melting, onset of spring bloom | Rhododendrons, pleasant weather, good visibility | Melting snow can create slippery sections | Beginners, spring lovers |
| May – June | Snow-free, warmer climate | Comfortable trek, lush greenery, longer days | No snow, less of a winter vibe | Family groups, first-time trekkers |
| July – August | Monsoon season, heavy rainfall | Least crowded, off-season discounts | Landslides, leeches, slippery paths, not recommended | Avoid unless very experienced |
| September – November | Dry and stable weather, post-monsoon freshness | Clear skies, dry trails, colorful landscapes | No snow, less of a wintery aesthetic | View seekers, best for stargazing |
This seasonally flexible trek is one of the best Beginner-friendly treks in India due to its year-round accessibility.
Is Kedarkantha Trek Good for Beginners?
Absolutely. Despite being a high-altitude Himalayan trek, the Kedarkantha Trek is perfectly suited for beginners due to its moderate difficulty level and well-structured itinerary. The trail covers a relatively short distance and includes gradual ascents that allow trekkers to adapt to the changing altitude. Most organized group treks come with experienced guides, clearly marked trails, and predefined campsites, ensuring safety and comfort throughout the journey. The availability of support staff, including porters and cooks, adds to the ease of the trek. With proper guidance and preparation, even first-time trekkers can confidently complete the Kedarkantha Trek and enjoy its scenic beauty.
Why Its Beginner-Friendly:
- Short 4-day itinerary
- Clear, marked trails
- Multiple acclimatization halts
- No technical climbing involved
Even the Kedarkantha summit can be reached with determination and basic preparation, making it a perfect introductory trek.
Essential Trekking Tips for Managing Difficulty
To reduce the challenges, its important to follow some essential best practices while planning and trekking to Kedarkantha. Start with proper physical preparation and research the trail thoroughly. Pack only the necessary gear, focusing on warmth, waterproofing, and layering. Stay hydrated, maintain a steady pace, and acclimatize properly. Always check weather forecasts and respect local guidelines. Hiring a certified guide is also recommended to ensure safety and a smoother trekking experience in the breathtaking landscapes of Kedarkantha.
- Pack Light but Smart: Include waterproof gloves, thermal wear, an insulated jacket, a headlamp, and a trekking pole
- Train Before the Trek: Build strength and stamina
- Stay With Your Group: Especially in fog or snow
- Hydrate and Eat Well: Keeps energy up and altitude issues down
- Choose a Trusted Operator: Like Shree Kedar Yatra for experienced guidance on the Govind Wildlife Sanctuary trek
What Makes Kedarkantha Trek Manageable
Unlike more remote or longer Himalayan trails, Kedarkantha is relatively beginner-friendly. The trek offers a well-defined path, gradual ascents, and manageable altitudes, making it easier even for first-time trekkers. Its short duration—typically 4 to 6 days—ensures you don not need extensive training or long leaves from work. Moreover, the base village Sankri is easily accessible by road, and basic facilities like food and lodging are readily available throughout the trek, making the overall experience comfortable and less daunting.
- Accessible start point (Sankri)
- Reliable network of homestays
- Daily treks averaging 4–6 km
- Scenic rewards that keep motivation high
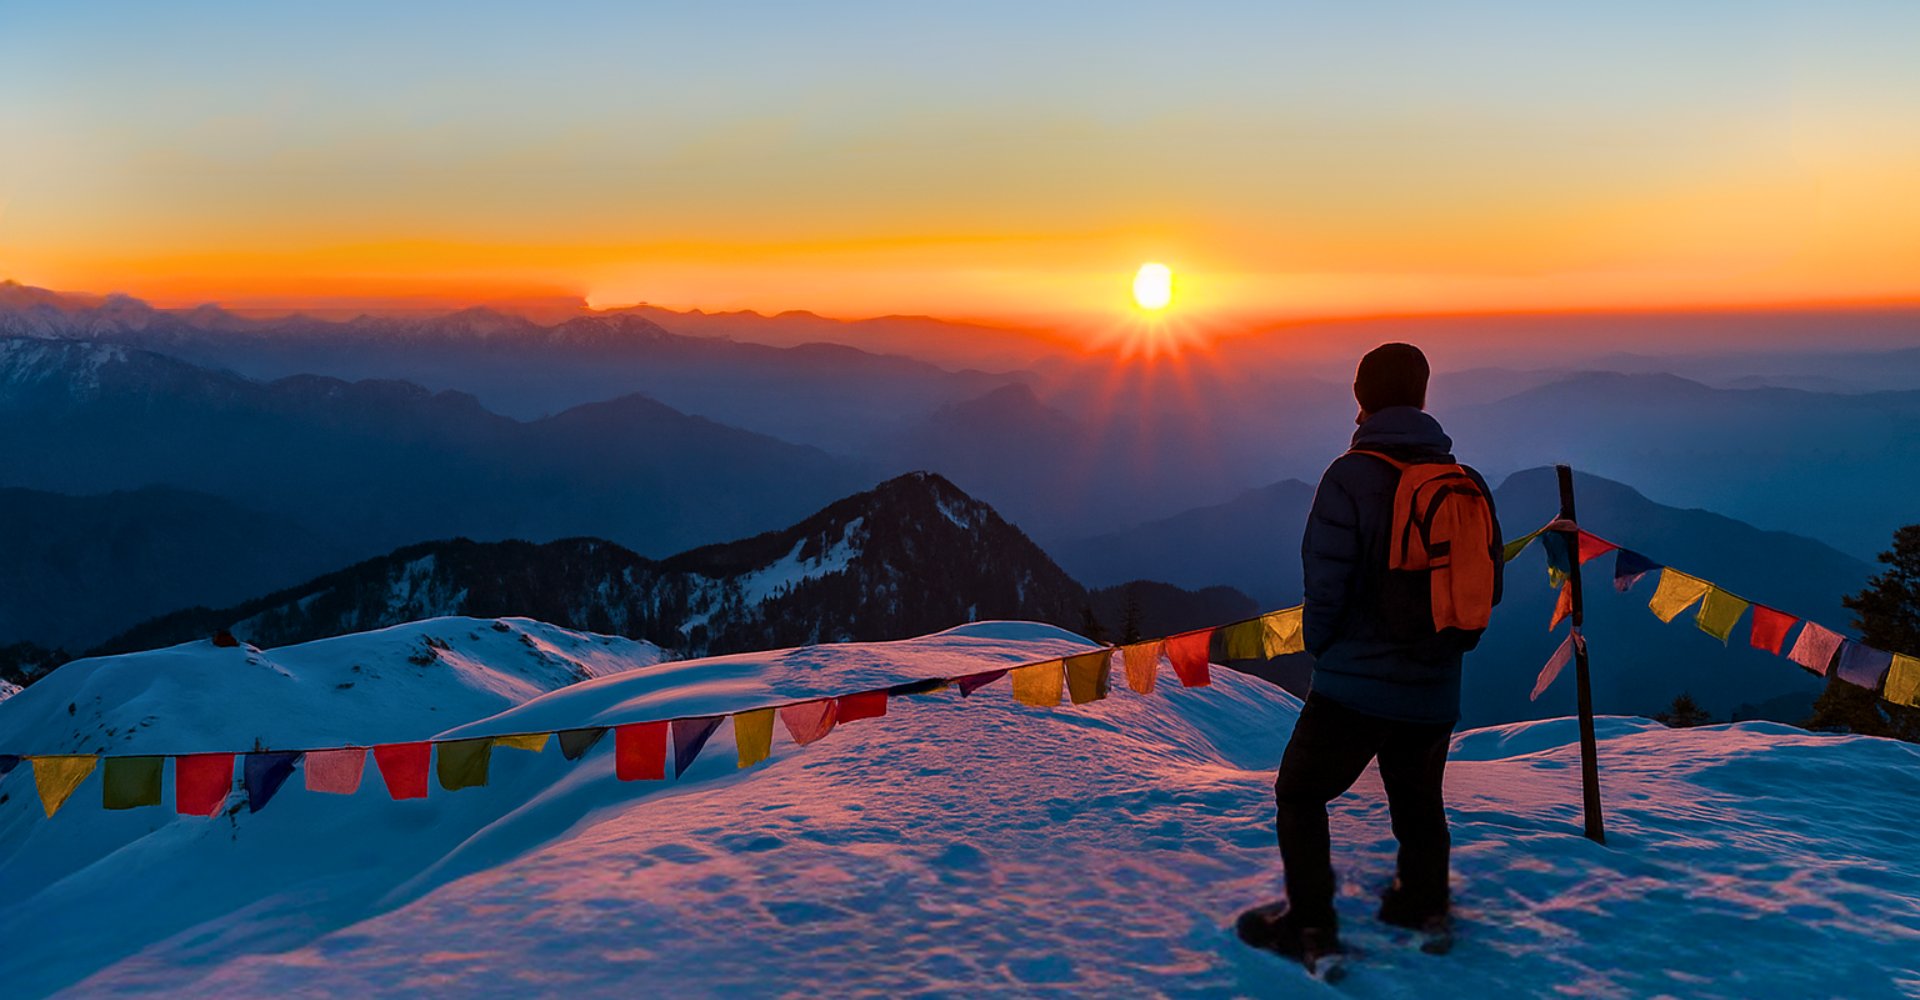
If you are looking for Snow treks in India, Kedarkantha stands out as both stunning and accessible, with its dense pine forests, snowy trails, and breathtaking sunrises from the summit.
Conclusion: Is Kedarkantha Trek Worth the Challenge?
The challenges—steep trails, freezing nights, and snow-covered paths—only add to the rewarding experience of the Kedarkantha trek. Whether you are a first-time trekker eager to test your endurance or a seasoned adventurer seeking a short winter escape, Kedarkantha offers an ideal blend of thrill and safety. With the right preparation and a well-planned guided itinerary, this trek becomes not just achievable but life-changing, leaving you with unforgettable memories and a deeper connection to the Himalayan wilderness.
FAQs: Kedarkantha Trek Difficulty
Your email address will not be published. Required fields are marked *