Kedarkantha Trek: Altitude Guide & Route Map Overview
- Date : 2025-07-28
- Author : Deepak pandey

1. What is the entire Altitude of the Kedarkantha trek?
The total Kedarkantha trek Altitude reaches a maximum of 12,500 feet (3,800 m), making it one of the maximum well-known trek in winter. It is a medium -altitude Himalayan trek that begins in the narrow which is located slightly more than 6,400 feet and takes a steady tilt up to the summit. The ascent provides an indescribable combination of attractive pine tree forests, snow tracks and spectacular panoramic views. It has a high altitude and a trekker should move very slowly to adjust to the temperature. The beginners in high-altitude treks are advised to train their cardiovascular systems before embarking on such treks in order to prevent the occurrence of AMS (Acute Mountain Sickness).
Quick Altitude Stats:
- Sankri Base: -6,400 ft
- Juda Ka Talab: -9,000 ft
- Kedarkantha Base Camp: -11,200 ft
- Kedarkantha Summit: -12,500 ft
2. Key Altitude Points Along the Kedarkantha Trek
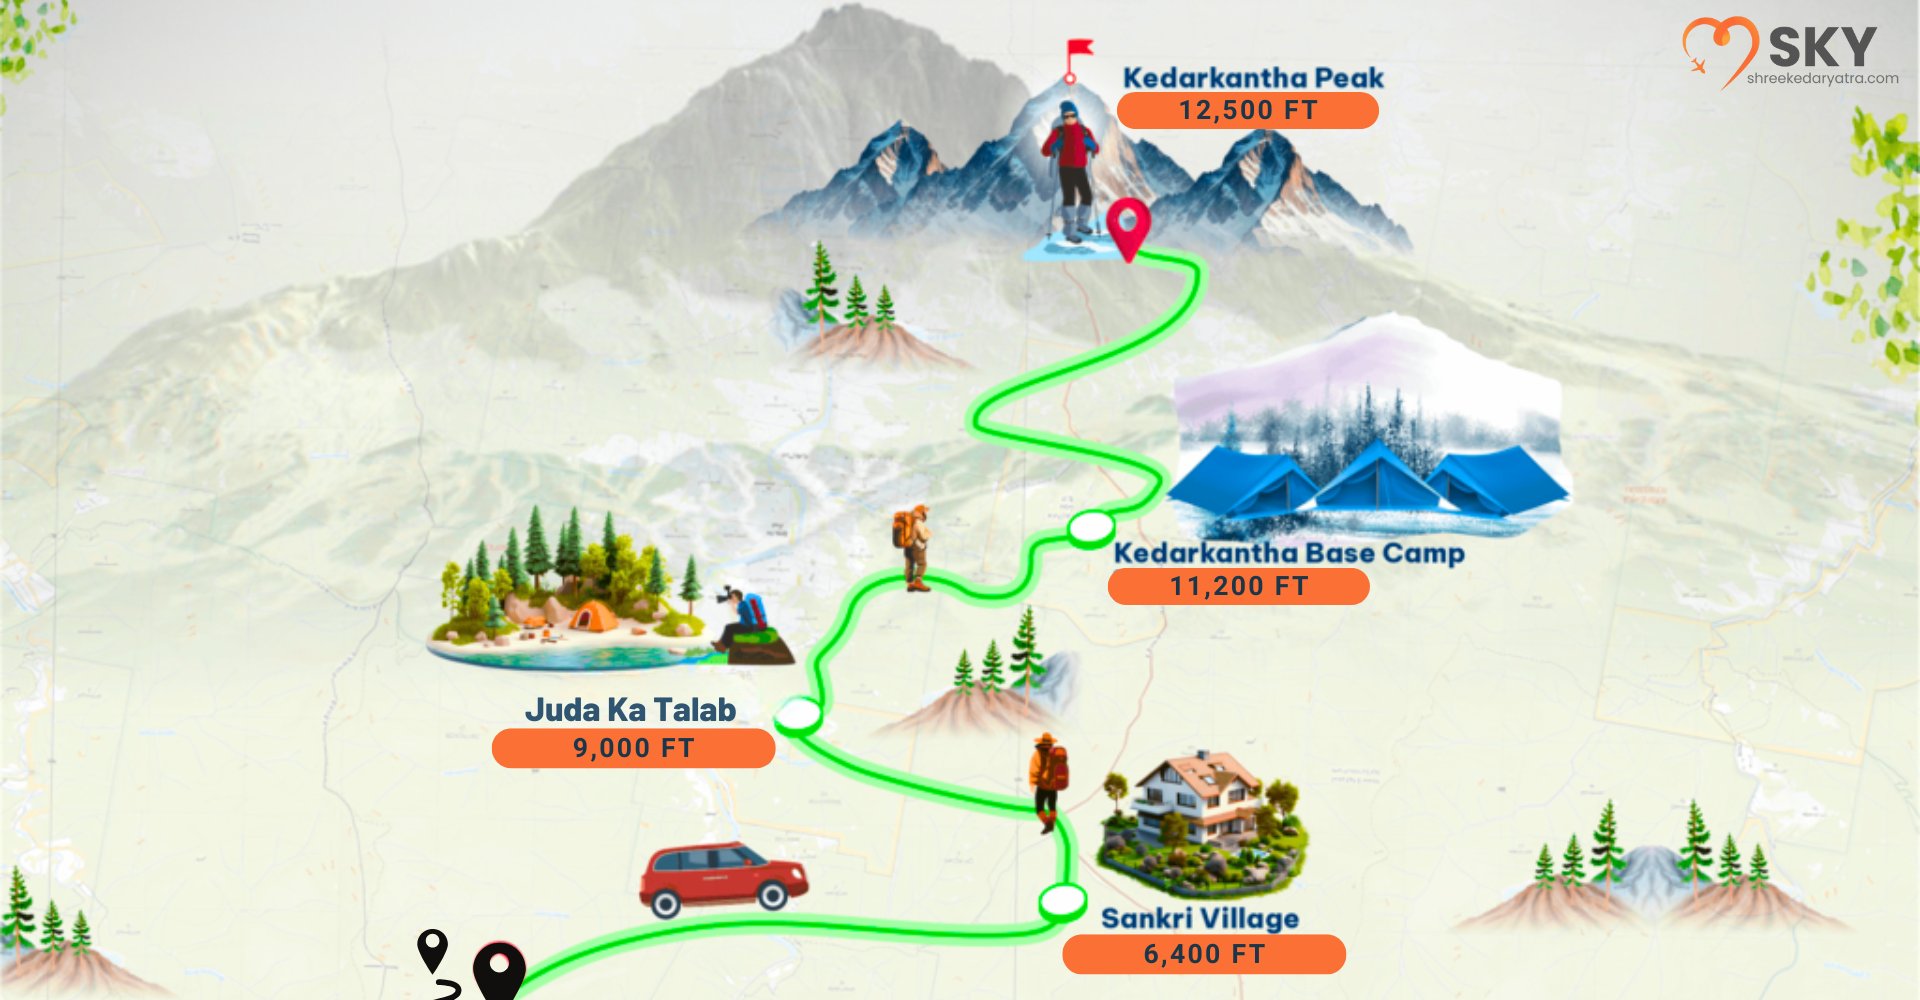
The Kedarkantha trek is famous for the progress of its stable height. Starting in Shakari village, trekkers follow the major stops, such as the Juda pond and the base camp and Kedarkantha reach the top of the peak. All the stages are perfectly developed to ensure the smooth acclimatization. The hike is fairly approachable and is an excellent option in case one wishes to have his or her first high-altitude experience. At lower elevations there are the towering pine forests and at the summit there are the snowfields, each altitude zone is very charming and each difficult to cross.
Trail Elevation Highlights:
- Day1: Sankri to Juda Ka Talab (~2600 ft up)
- Day2: Juda Ka Talab to Base camp (~2,200 ft gain)
- Day3: Summit to Base Camp (~ 1,300 ft down)
3. Day-wise Elevation Gain in Kedarkantha Trek
If you are following the standard Kedarkantha Trek Itinerary program, expect continuous but manageable height benefits in four trekking days. Day one includes a beautiful drive for sankri, followed by a trek for Juda Ka Talab. Day two leads to the base camp through snow-covered meadows. The third day is the summit push, with the highest elevation of the entire trek. The final day sees a descent back to Sankri. This journey program is designed to ensure optimal height adjustment and memorable visible transition at each point.
Itinerary Breakdown:
Day 1: Pickup Location Sankri (Drive)
Day 2: Sankri to Juda Ka Talab (9,000 ft )
Day 3: Juda Ka Talab to Base Camp (11090 ft)
Day 4: Summit to Base camp and back (12,500 ft)
Day 5: Base Camp to Sankri (6,400 ft)
Day 6: Sankri To Drop Location (Drive)
4. The Effect of Altitude to Trek Difficulty and Acclimatization
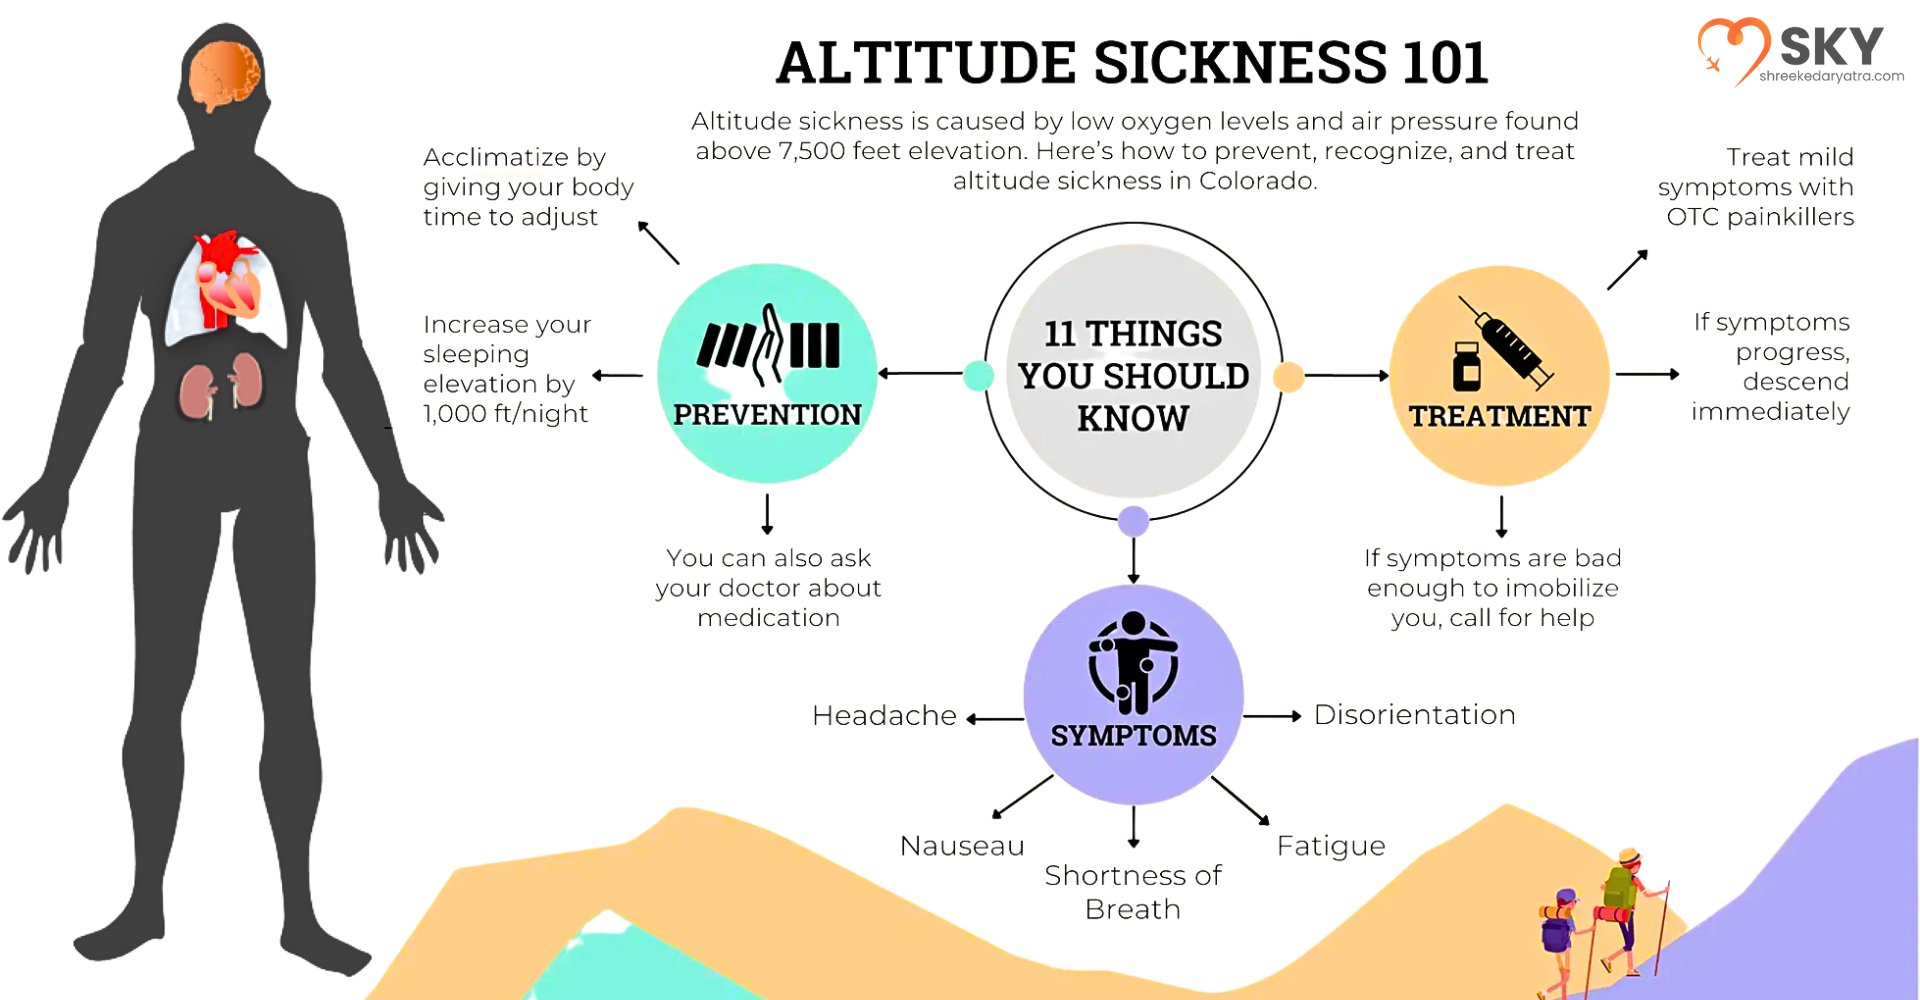
The Kedarkantha Trek Difficulty Level is considered smooth to mild, satisfactory for beginners. However, it might be a touch challenging because of altitude, in particular, at the summit day. Trekkers are advised to drink loads of water, not consume alcohol and walk slowly. There can be mild symptoms such as headaches or tiredness in case the body fails to adapt well. With trained guides, its symptoms at the onset of altitude illness are knowable, and majority of tours are scheduled such that your body adjusts regularly to the rising height.
Altitude Safety Tips:
- Drink plenty of water, no caffeinate/alcohol
- Carry Diamox if advised by your doctor
- Spend time at each altitude point before ascending
5. Kedarkantha Route Map – Overview of the Trail
Take a look at the Kedarakantha Trek Route Map is well-known trail that winds through the dense pine forests, frozen lakes, open grasslands and snow-imposed peaks. The trek course originates at Sankri and is going thru is Juda ka Talab, the Kedarkantha Base Camp and the Kedarkantha Summit and returned. It has stops and camping sites along every part of the trail, hence even the first time hikers get to use it. The path is signposted and sometimes accompanied, and the risks of losing one are reduced.
Trail Overview at a Glance:
- Days in Total Trekking: 6
- Juda Ka Talab, Base Camp campsites
- Trail: Woods, pastures, snows
6. Detailed Route Map from Sankri to Kedarkantha Summit
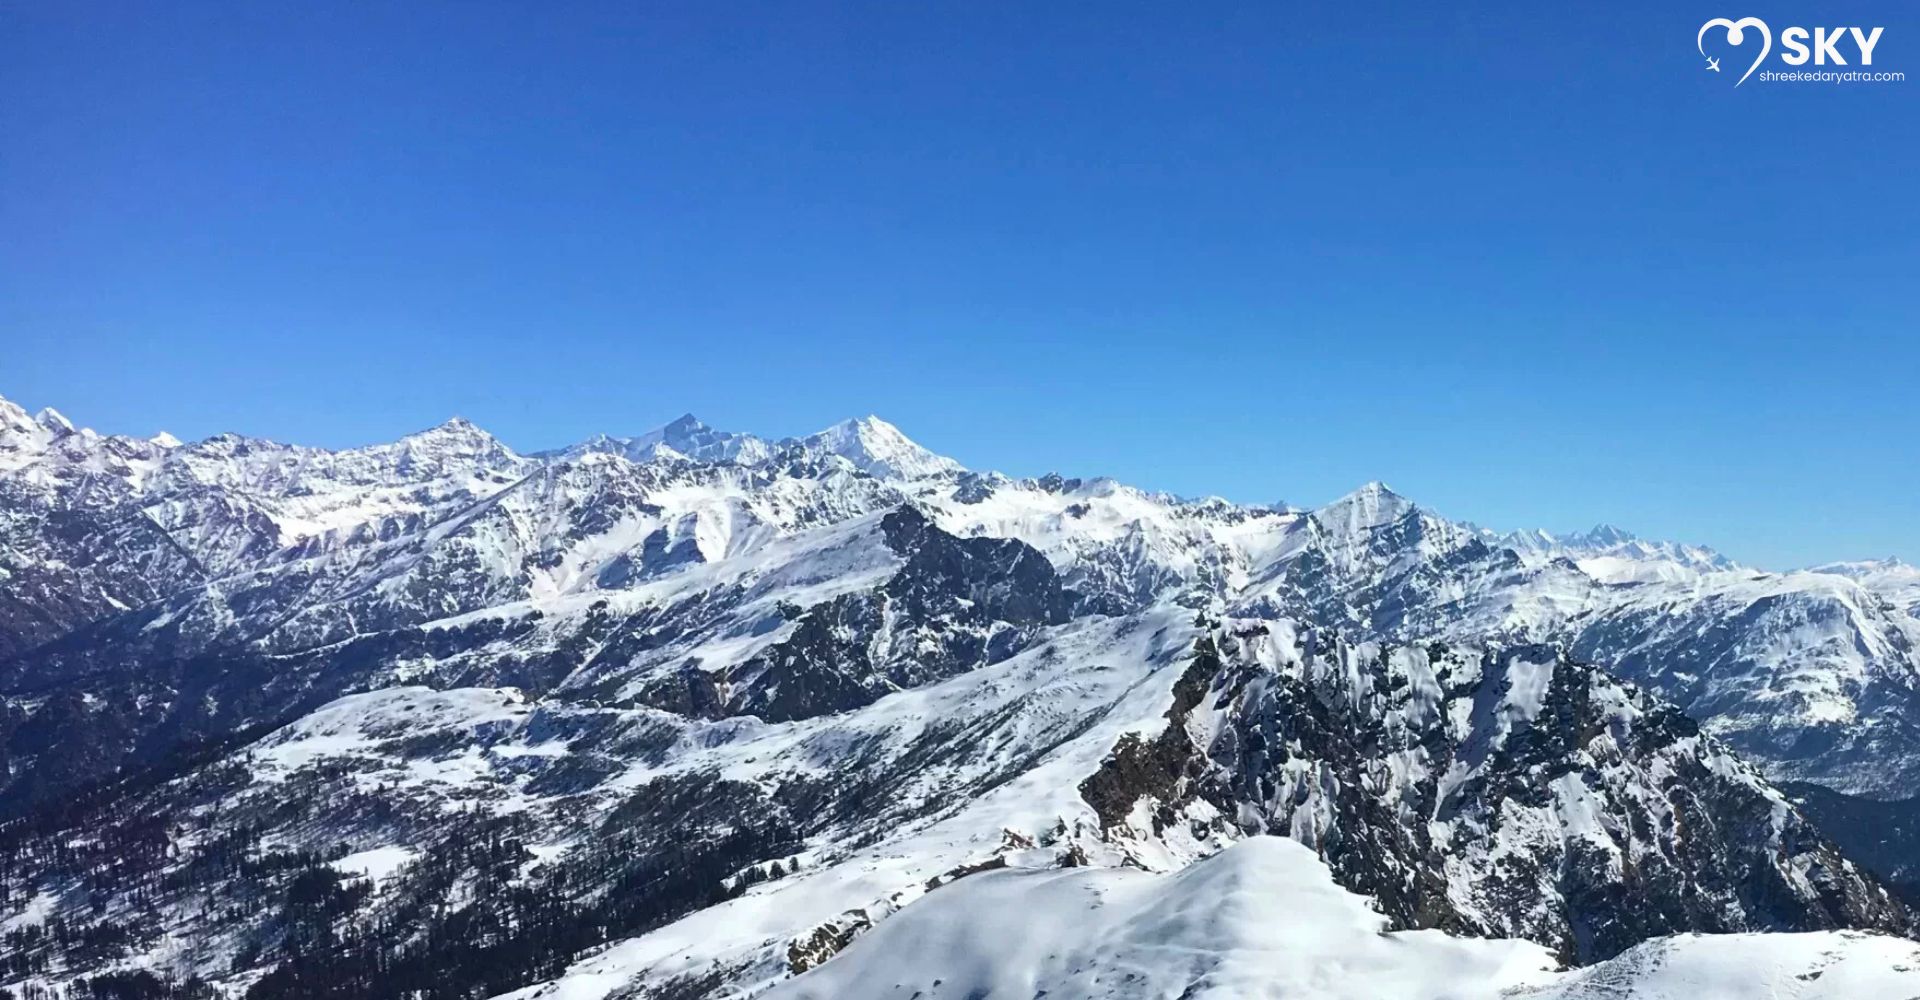
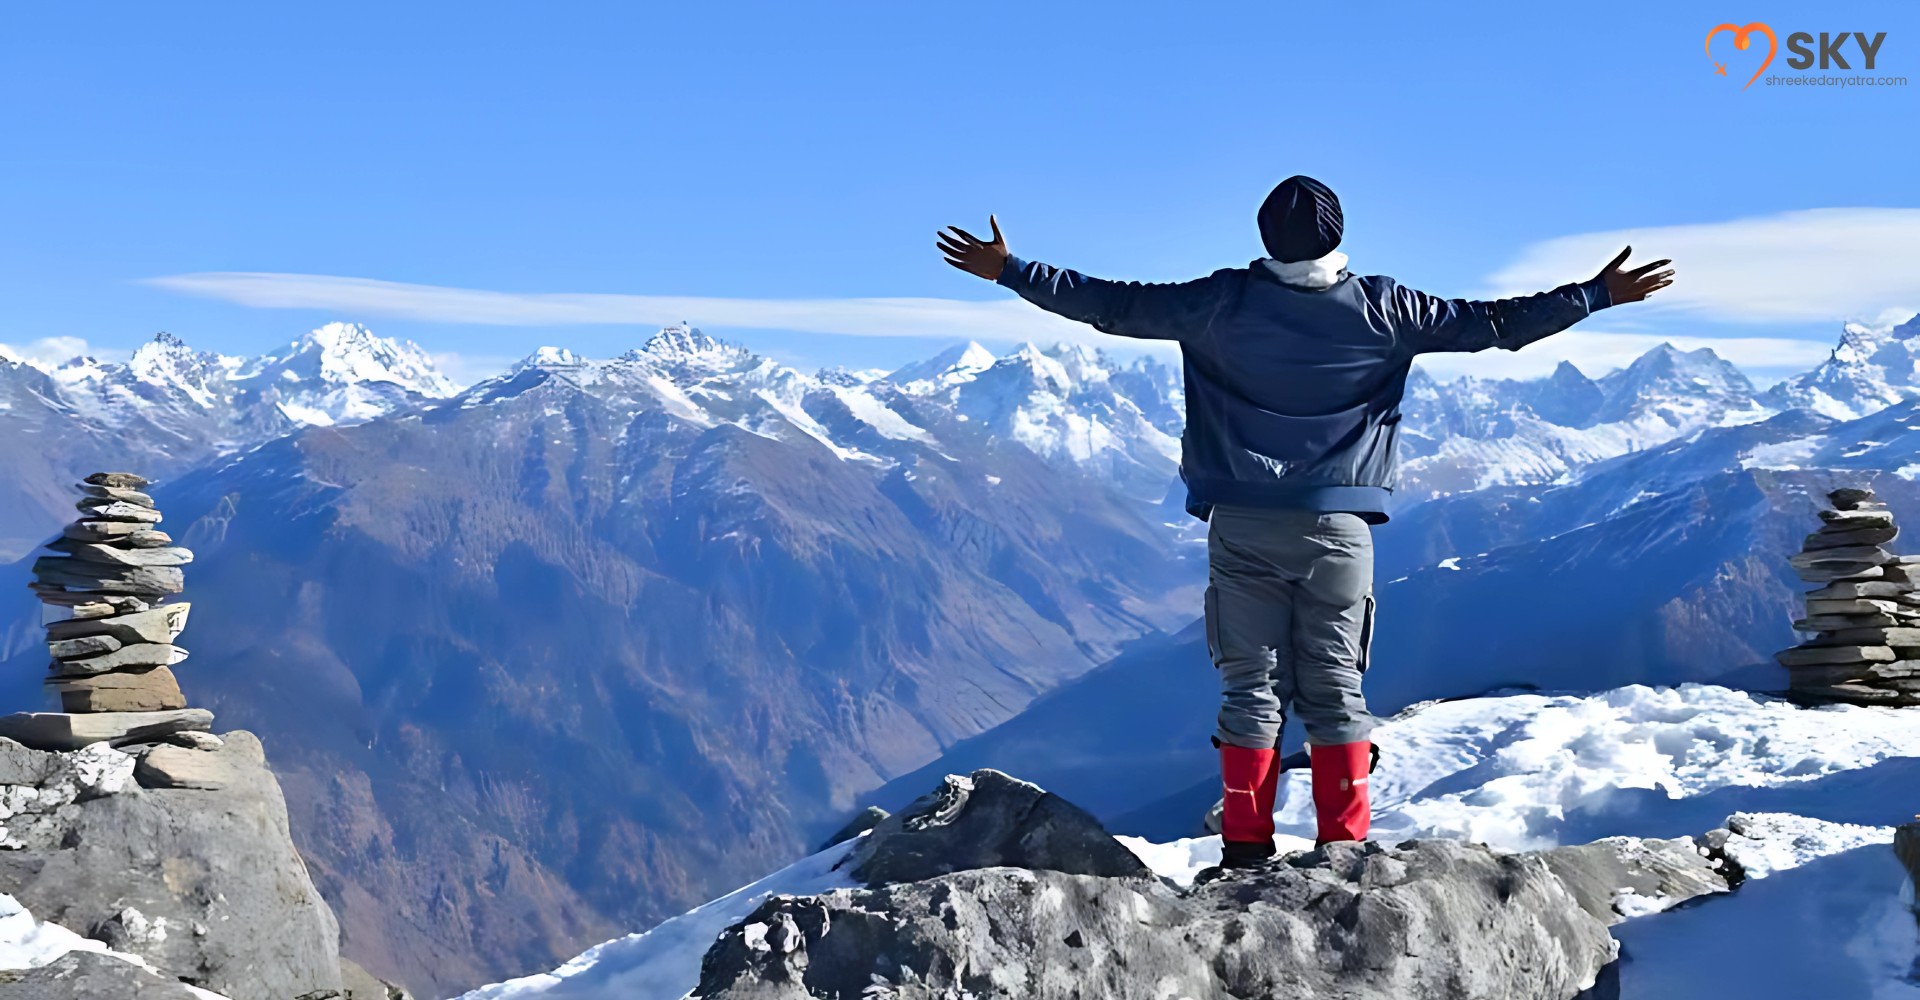
The journey from Sankri to the summit, as shown on detailed maps, defines the beauty of the Kedarkantha Winter Trek. During the month of peak in the winter months (December to February) it is through snow magic that the path is made. The hike begins at Sankri and goes further to Juda Ka Talab and then takes a steep ascent to the base camp. Then the last climb to the summit will reward the walkers with a 360 degree panoramic view of snow-covered Himalaya Ranges such as Swargarohini and Bandarpoonch. This course is regarded as safe, visibility and the uncomparable scenic beauty.
Winter Trek Highlights:
- Ideal months: December to February
- Requires snow gaiters and trekking poles
- Summit offers views of 13+ Himalayan peaks
7. Popular Starting Points and Trail Variants
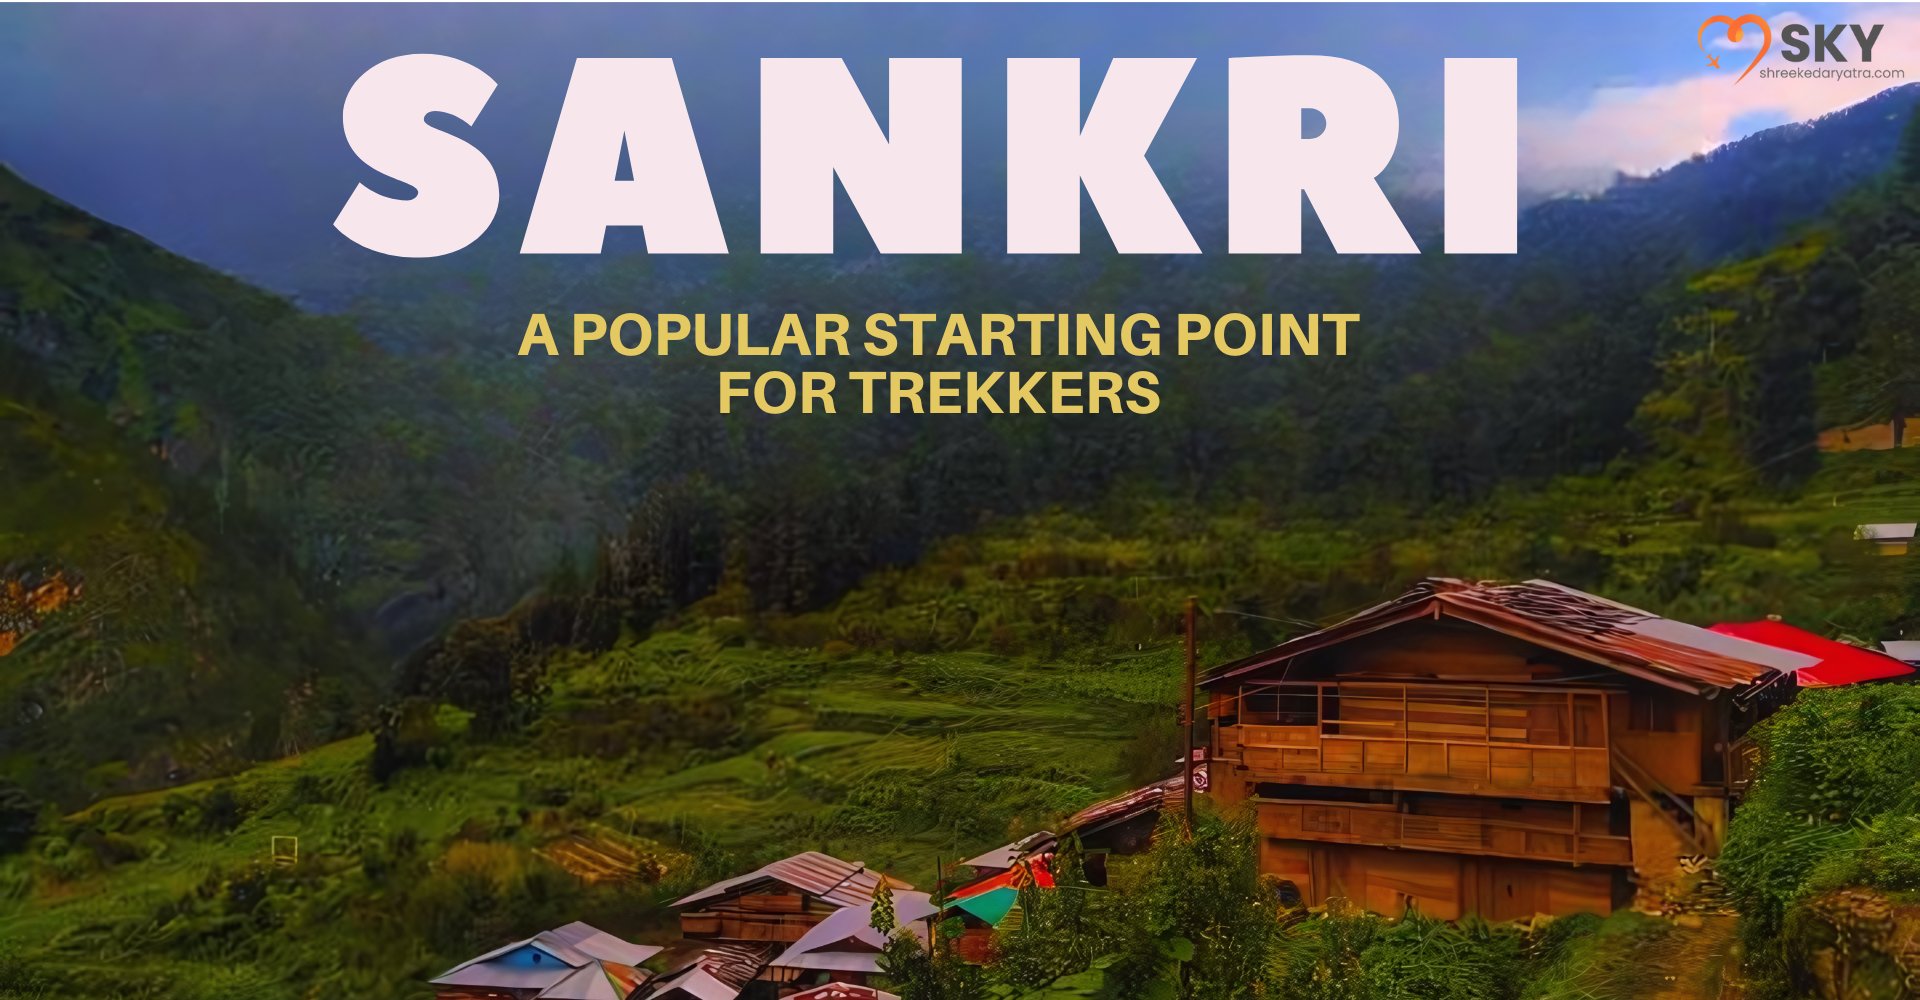
Sankri is the main entry point although there are operators that provide variation of trails to make it more enjoyable. For many trekkers, figuring out how to reach Kedarkantha Trek begins with reaching Dehradun, the nearest city. Thereafter shared cabs or private taxis reach you at Sankri. Trail variants may start from Kotgaon or Gaichawan Gaon to offer more secluded paths. However, Sankri remains the most organized and well-supported base.
Getting There:
- The nearest Railway Station: Dehradun
- Dehradun to. Sankri ( approx.200 km, 7- 8 hours)
- There are possibilities to use public and individual transportation
8. Which Route Is Best for Beginners?
The historical Sankri way has an average length with slow altitude increase, and it is safe to say that it is applicable to everyone regardless of the fitness level. The Kedarkantha Trek Distance from Sankri to the summit and back is approximately 20 km. The topography is varied but very non-technical. Most beginners complete the trek successfully in guided groups. Camp placements are ideal, and no special mountaineering skills are required. Weather and snow may increase difficulty slightly during peak winter, so proper gear is essential.
Trek Suitability Facts:
- Trek Distance: 20 km round trip
- The most appropriate age is 10-60
- Perfectly suitable for beginners with a moderate fitness level
9. Essential Tips for Handling High Altitude
The altitude sickness is hard to find in this trail, but one should be ready. Knowing the Best Time for the Kedarkantha Trek also helps manage risks. Pre-winter and post-winter seasons provide mild conditions. The ability to prevent AMS is characterized by slow acclimatization, hydration, and tapering. Other items to carry by trekkers would be warm clothes, energy bars, and simple first aid kit. Couple-travel with trained guide guarantees safety wherever one goes.
Pro Tips:
- Best months: April, December, January
- Rest adequately at each campsite
- Avoid rapid ascents
10. Weather Conditions at Different Elevation Levels
The weather changes by altitude dramatically. Base camps are also colder than Sankri and there are summit nights of subzero temperatures. This directly impacts the Kedarkantha Trek Package you choose, as winter treks may include more gear and logistics. The package normally takes care of tent, food, guides, and snow equipment. You should choose the right season to hike so as to plan your trek.
Weather Quick Facts:
- Cold winter: -5 °C -10 °C at nights
- Daytime temperature: 5degrees C to 12 degrees C
- Snows begin as early as in December
11. Altitude vs. Fitness: Who Should Attempt Kedarkantha?
Though it is an easy trek, you ought to be able to couple up the calories with the altitude requirements. The Kedarkantha Trek Uttarakhand trail doesn’t require mountaineering expertise but does demand endurance. Individuals with pre-existing medical conditions must first meet doctors. Taking a stroll, climbing stairs, or even walking lightly at the same pace over a period of one month prior to the trek would boost up your stamina levels to a considerable extent.
Fitness Facts:
- Fitness required: Moderate
- Time spent on trekking daily: 4-6 h
- Pre-trek training: Cardio + weight training
12. Final Thoughts on Kedarkantha Trek Elevation & Route
The picturesque and the fact that people can access Kedarkantha easily are because of its terrain and beautiful views. All will be arranged so that it becomes a memorable experience: the group is placed at the appropriate altitude, the route is planned, etc. The Kedarkantha Trek Cost typically ranges between ?5,000 to ?10,000, depending on inclusions like meals, transport, and gear. It is a cost-effective and very gratifying expedition arrangement to the Himalayas with adequate planning.
Cost Snapshot:
- Cost varies by operator & season
- Includes stay, meals, permits, and a guide
- Excludes transport to the base village
Your email address will not be published. Required fields are marked *